Quick and Easy Roasted Garlic & Fresh Rosemary Dutch Oven Bread

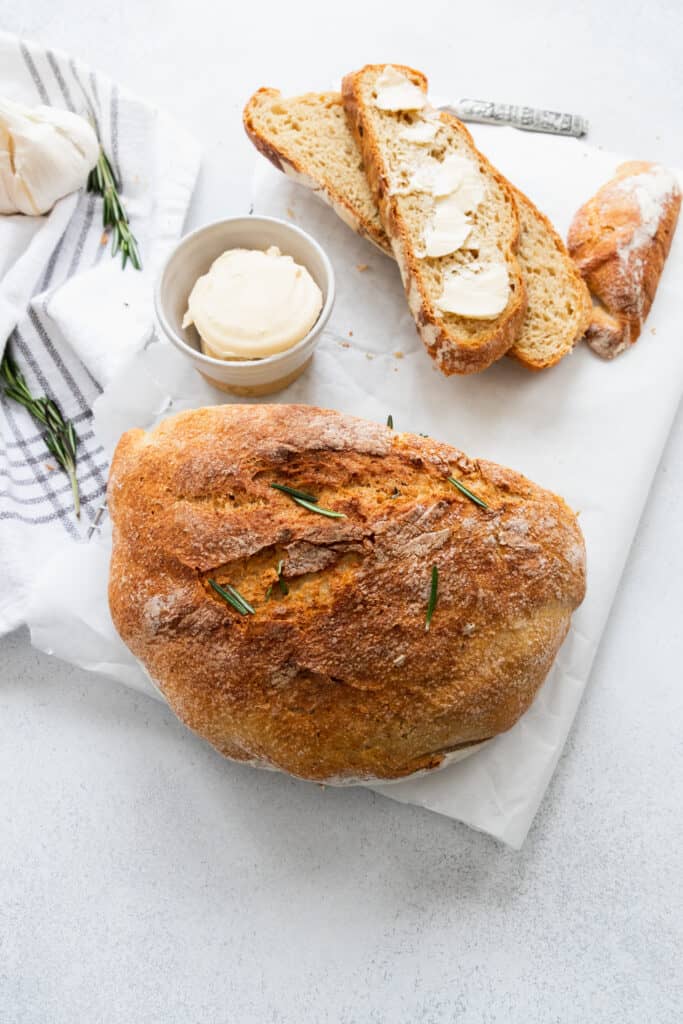
I love bread, especially European crusted bread, and then when you add roasted garlic and a hint of fresh rosemary to the mix, it just can’t get much better. This Quick and Easy Roasted Garlic & Fresh Rosemary Dutch Oven Bread is one of our favorite bread recipes. And if you give this a try, I am relatively confident that it will be yours also.
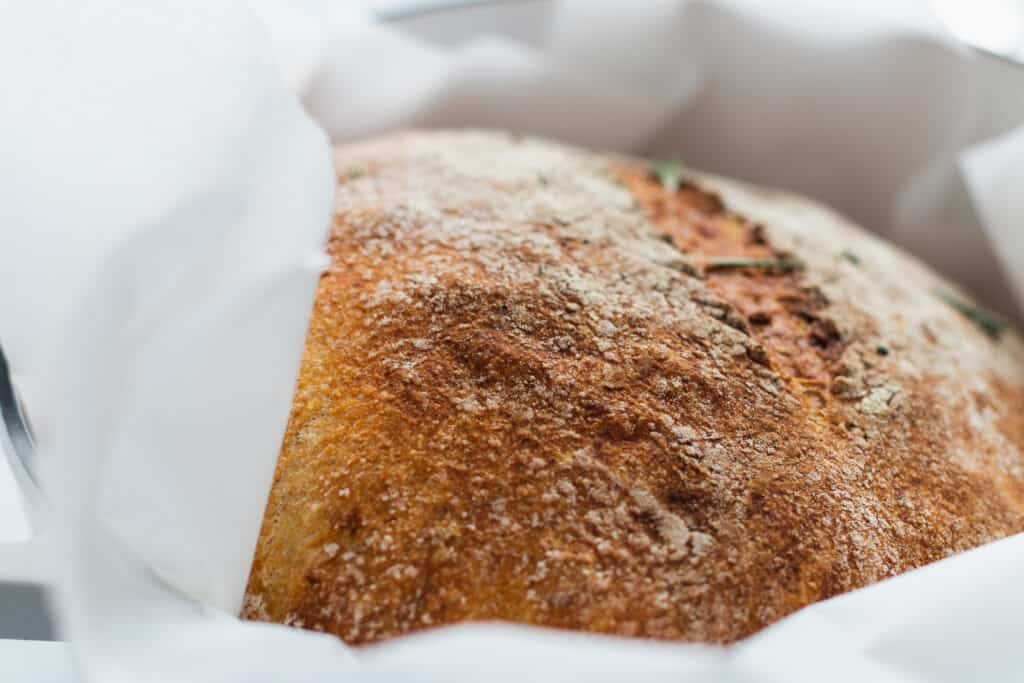
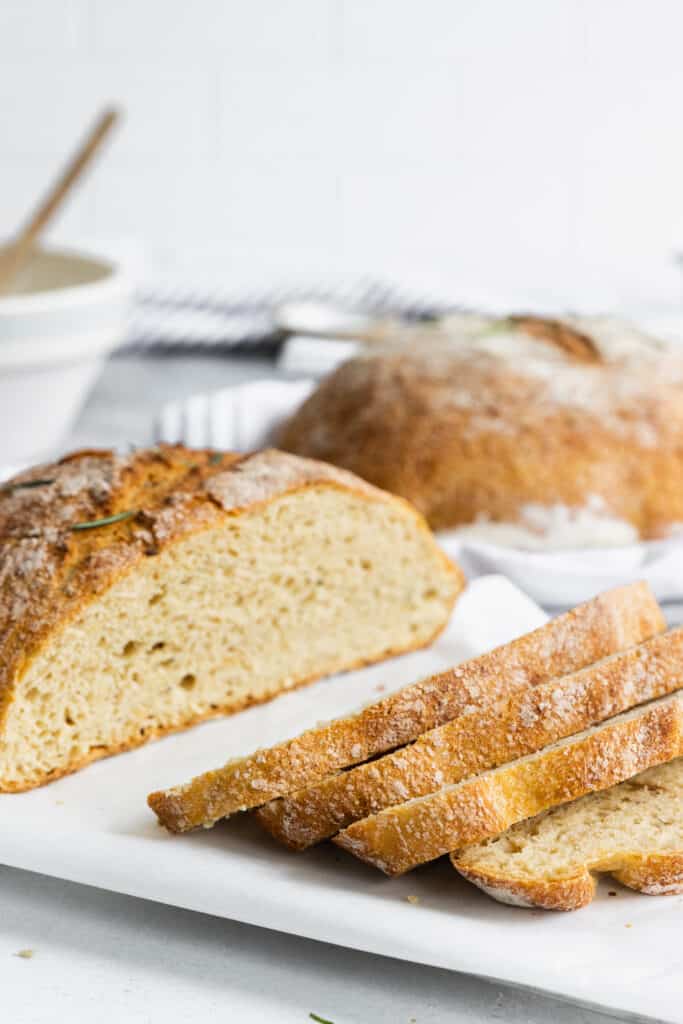
This bread takes about two and a half hours to make, not bad for a crusted European-like bread. And let me assure you, it is so worth it, the wonderful crusty outside and the moist delicious inside is a real winner.
One of my most cherished childhood memories is going to the store for fresh bread in the early morning hours while visiting Norway. There was nothing quite like that crusty Norwegian bread until we discovered, many years ago, that cooking bread in a Dutch Oven will give you that same wonderful crust. Since then, we have made many different recipes using the Dutch Oven. There is a no-knead overnight bread recipe on my website that we highly recommend, but if you like roasted garlic and rosemary, it is hard to beat the bread we are making today.
Our favorite thing about this bread is that it freezes well. We usually slice the bread before we freeze it, so it is ready to pop in the toaster for an easy snack. Sometimes we freeze the whole bread and reheat it before serving, especially when using it as a dinner side dish for a meal.
Whole Wheat Flour vs. White Flour in this Rosemary Garlic Recipe:
In today’s society, we know that whole grain is much better for us than processed flour. White flour does not contain the fiber or nutrients that whole grain flour does. It is therefore important to incorporate as much whole wheat flour into the diet as possible. I have a wonderful 100% whole wheat bread on my website that I would highly recommend. Today, we have chosen to mix the flour half and half, making a delicious loaf of bread slightly lighter in texture. You can use 100% whole wheat flour in this bread, but it will be a denser loaf of bread, so I would suggest that you start with half & half and then go from there.
The Roasted Garlic & Fresh Rosemary Bread Loaf Flavor:
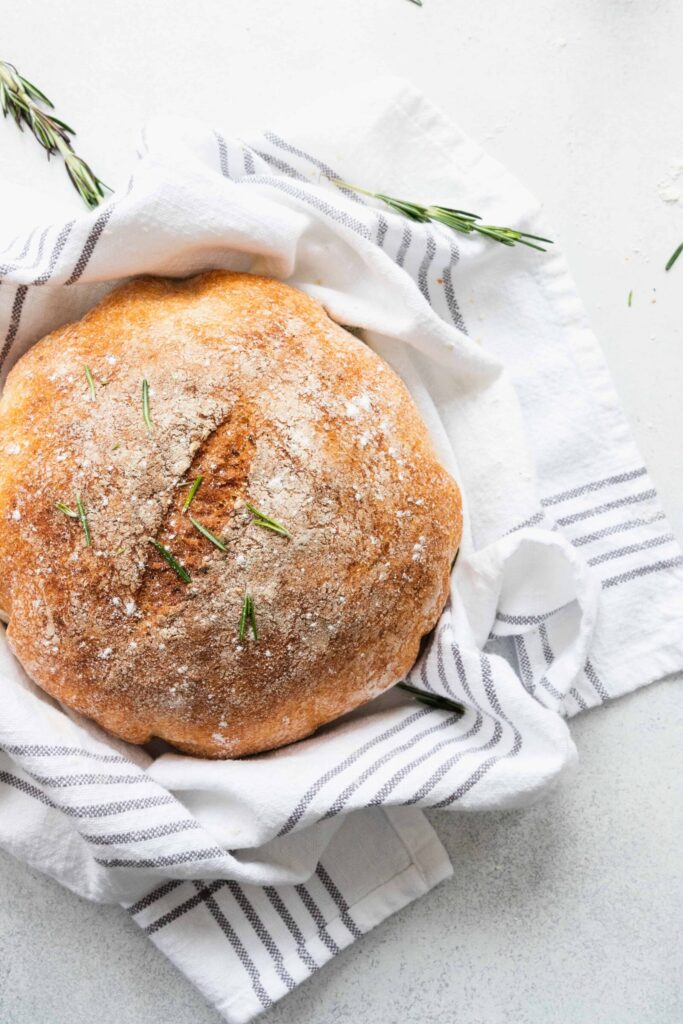
We build flavor by roasting garlic and adding fresh rosemary and a little salt. This is a tremendous flavor combination and creates such a fantastic savory bread. Use a whole bulb of garlic, cut off the top, sprinkle with a little olive oil, wrap in foil, and bake at 400F for 30 minutes. This totally changes the garlic’s flavor, creating a gourmet taste that is fantastic in bread. Remove cloves from the peel, chop, and cut into the bread flour before adding liquid. The fresh rosemary can be added as is or chopped to distribute better through the bread. Should you not have access to either fresh garlic or fresh rosemary, you can, in a pinch, use dried, though it is not quite the same.
Baking the Roasted Garlic & Fresh Rosemary Dough:
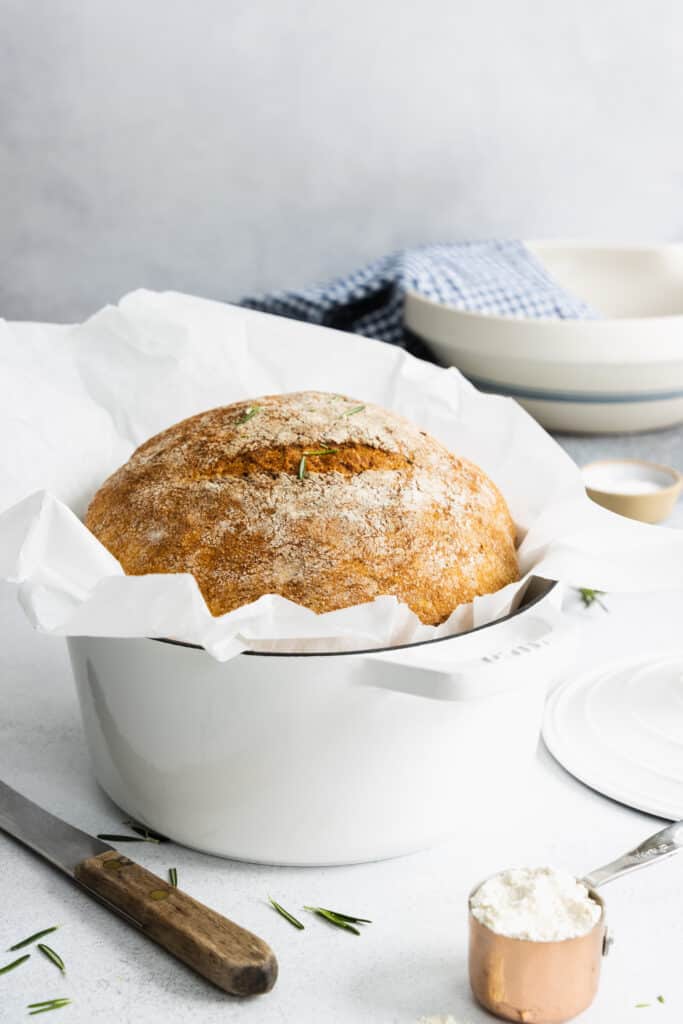
This bread is baked in a Dutch Oven, and for good reasons. The Dutch Oven traps the steam, giving the bread the crusty outside and the soft and tender inside. This method of cooking bread is quite forgiving and usually provides a most delicious loaf of bread. If you do not have a Dutch Oven, it may be worth the expense of getting one; I use mine a lot. If you do not have access to one, check out this bread recipe on my website: PHENOMENAL HOMEMADE WHOLE GRAIN BREAD
Our favorite topping for this delicious garlic and rosemary bread is sliced avocados with a sprinkle of salt. It is simple, healthy, and so delicious. It is also an excellent bread for plant-based luncheon meat. Click Here for my Vegan Deli Meat Recipe!
And it is a fantastic bread to serve with pasta or salad.
Be prepared for visitors; the aroma of this bread, baking in the oven, will draw people to your kitchen. And a quirky bonus point:) in the real estate business, when people are trying to sell homes, they often recommend bread baking to give the prospective buyers a sense of home. Well, let me tell you that this would be the bread to bake; the aroma itself would do the work.
Click Here to Watch me make this Roasted Garlic & Fresh Rosemary Bread on YouTube!
Can I Add Fresh Herbs to Bread?
Yes, adding fresh herbs to bread is one of the best things you can do to benefit the overall flavor of the bread, which is why we recommend it so strongly in this bread recipe. A freshly roasted bulb of garlic is going to impart so much more aromatic flavor to the bread, and the fresh rosemary is really going to sell the dish to anyone who might still be on the fence. Garlic and rosemary are two complementary flavors that taste and smell like an artisan blend right out of the oven, no matter what you are cooking.
If you have never had bread with fresh herbs and garlic, then you’re in for a delicious treat. Believe me when I say that whenever possible it’s worth baking with fresh herbs rather than the pre-prepared or dried ones.
What Pairs Well with Rosemary and Garlic Bread?
Pairing your rosemary and garlic bread loaf with another food is ridiculously easy because the bread recipe flavors go with just about everything, especially if you are using fresh ingredients that allow the flavors to really shine through.
If you’re looking to serve the bread as a main dish, you could easily serve it with a vegan dip like hummus, cheesy spreadable dip, or olive tapenade. My favorite is to serve it with pesto, because you get a deliciously herby taste from the oil and basil combination of pesto, right underneath a fresh, hot slice of herby garlic bread.
Other favorite pairings for this bread loaf include soups, stews, and pasta dishes.
What Makes Bread Really Soft and Fluffy?
Are you ready for the secret to soft and fluffy bread? Beyond following the recipe to a T – because baking is more of a science than an art – soft and fluffy bread comes from the carbon dioxide bubbles that form when it is rising.
How does your bread loaf get CO2 mixed into the dough? Well, that’s easy: yeast.
There’s a good reason why we have been using yeast in bread for centuries before refrigeration or pasteurization were even an idea in anyone’s mind. As yeast grows and develops in the bread, the bread rises. That rising action is caused by the CO2 bubbles forming inside the dough, creating air pockets. The more air pockets in the dough when it goes into the oven, the softer and fluffier.
This is actually a very easy bread to make. Once you get this process down, you’ll find that friends and family will be asking you to bring this bread to holiday meals. There’s nothing quite like homemade bread; and its even more so when its quality homemade bread. Best of all, this recipe is vegan, so you don’t have to worry about dietary restrictions like you might with store-bought or restaurant breads that often contain egg and dairy.
How Do I Know When to Stop Kneading My Bread?
In most bread recipes, you need to knead the bread to mix it and encourage development of gluten and the yeast. This could potentially be the most difficult part of breadmaking, as people often feel intimidated by the kneading process. Not to worry, you’ll soon have the hang of it, and the end result will make it so worth it. Fortunately, this bread does not require much kneading. It requires very little handling outside of separating the dough into quarters or forming it into a ball shape. No full-on kneading is necessary, meaning it takes out the guesswork, makes it a relatively easy, a recipe to work with in minutes, not hours.
When baking other types of bread, you’ll want to follow a rule of thumb that the bread should be kneaded for at least a few minutes before testing. To test, press the dough with your finger; if the dough stays in place with an indentation, then you still need to knead it to work in more air and elasticity. The dough should be smooth and springy, springing back its original shape from the finger indent test.
Is It OK To Let a Bread Rise Longer Than Recipe Says?
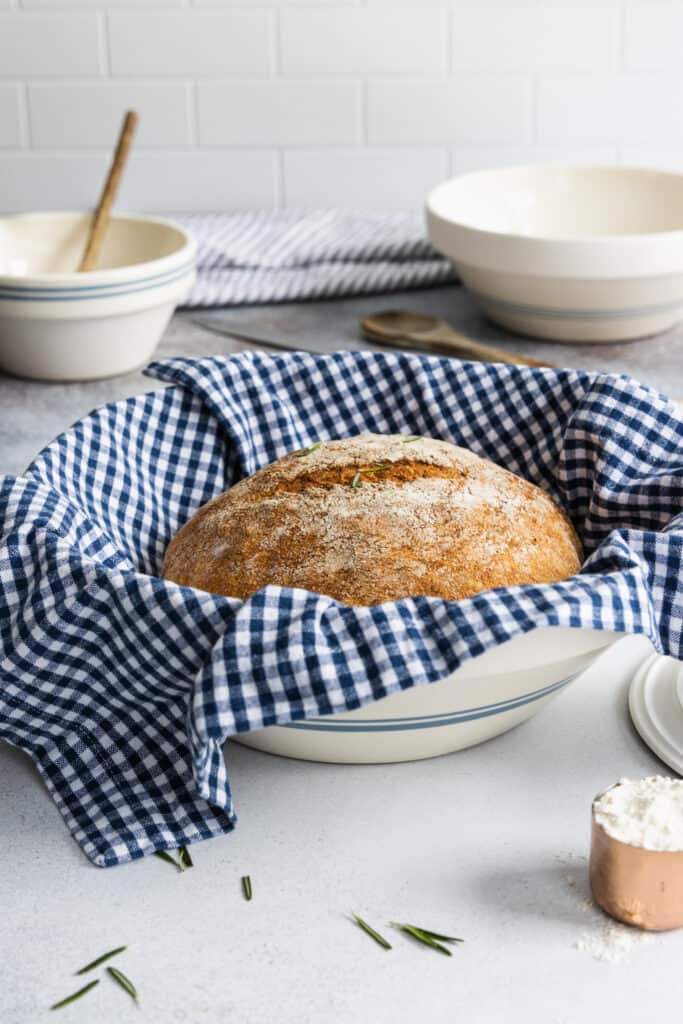
Sometimes people find the proofing of the bread intimidating, but trust me when I say its not a complicated process. All you need to do is turn it into a bowl, cover it with a towel and allow it to sit on the counter for the right amount of time.
What happens during proofing is that the yeast inside is developing and growing – making the bread airier and softer.
I do not recommend allowing bread to rise or proof longer than the recipe says, because if you allow it to proof for too long, you can end up with a bread that does not rise or bake well. Set a timer when you leave your bread on the counter to proof. Follow the recipe, and you’ll end up with delicious foolproof bread that is surprisingly easy to make. And the best part of all, it is super light, crusty, and delicious.
Print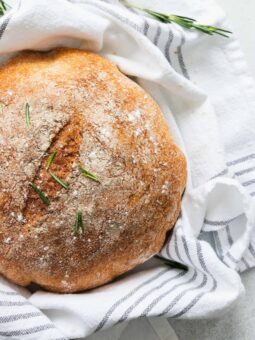
Quick and Easy Roasted Garlic & Fresh Rosemary Dutch Oven Bread
- Total Time: 2 1/2 hours
- Yield: 1 Loaf 1x
Ingredients
- 1 1/2 cup whole wheat flour (white wheat berries)
- 1 1/2 cup all-purpose flour
- 1 tablespoon vital wheat gluten (optional)
- 1 1/2 teaspoon natural cane sugar
- 2 teaspoons salt
- 2 1/2 teaspoons yeast
- 1 1/2 cup warm water (110 F)
- 2 sprigs of fresh rosemary
- 1 bulb roasted garlic
Instructions
- Start by roasting the garlic. Use the whole bulb of garlic, cut off the top, sprinkle with a little olive oil, wrap in a piece of foil, place in a small baking dish and bake at 400F for 30 minutes.
- In a large mixing bowl, add whole wheat flour, all-purpose flour, vital wheat gluten, natural cane sugar, salt, and yeast. Stir to combine.
- Cut in the roasted garlic.
- Remove the leaves from the rosemary sprigs and mince.
- Add to the flour mixture, and stir to combine.
- Next, mix in the warm water (110F, warm to touch, hot water will kill the yeast.) Stir to combine. The dough should look pretty shaggy.
- Proof the dough: Let the dough proof for 1 hour. If you have a proof function on your oven, cover the mixing bowl with a kitchen towel and place in the oven for 1 hour. If you do not have a proof function, cover the mixing bowl with plastic wrap and a kitchen towel and place it in a warm place for 1 hour.
- Shape the dough: Remove dough from the mixing bowl to a well-floured piece of parchment paper. Pull the edges of the dough together to form a ball. Turn it over, sprinkle with extra flour, cover with a towel and let it rise for 20-30 minutes while the Dutch Oven heats up.
- Heat the Dutch Oven: Place the Dutch Oven with lid in the oven. Heat the oven to 450F. The Dutch Oven must be very hot when you place the bread dough in it, so let it heat for at least 20-30 minutes.
- Baking the Bread: When the oven is at the right temperature and the Dutch Oven is hot; remove the Dutch Oven’s lid, being careful as it is very hot. Place the bread dough in the Dutch Oven using the parchment-paper to move it. Leave the parchment-paper under the bread during the baking process, but remove the kitchen towel. Cover the Dutch Oven with the lid. Bake for 30 minutes. Remove lid, bake for an additional 15 minutes without the lid. Remove bread from the Dutch Oven and place on a cooling rack.
First time making the garlic bread. Can’t wait.
Fantastic! I hope you enjoy the recipe! It is one of my favorites!
Your roasted garlic bread is now a regular item on our weekly menu. Thanks.
I am so happy to hear that! Thank you so much for your kind comment and the 5-star review. It really helps me out!
Wow! This was so great. Il going to up the garlic and rosemary next time too. I may make it again today! So easy. Thanks!
Thank you so much for your kind comment! I love the idea of adding more garlic and rosemary! Thank you so much for the 5-star review!
I am no chef. I made this and it was so good! The bottom was a little hard to cut. It wasn’t burnt but it was a really thick crust on the bottom. But oh so tasty and easy!
Thank you so much for your kind 5-star review! I’m so happy you enjoyed it!
I have made this bread several times it is delicious
Thank you so much for your kind comment, Anita! I am so happy you enjoyed the recipe!
Omgosh this bread is fantastic!! Thankyou for the recipe!!
I meant to give the recipe a 5 star rating!! I’d give more if I could 🙂
Thank you so much for the 5-star review, Kelly! This helps me so much!
Awww… Thank you so much, Kelly! I am so happy to hear you enjoyed the recipe!
Amazing
Aww… Thank you so much, Grace!
I love this garlic & fresh rosemary bread thank you Chef Ani for sharing these lovely recipes
Thank you so much! I so appreciate your kind comment and 5-star review! Thank you for trying my recipe.
You are welcome Chef Ani
I’ve made these rounds herb bread at least 4 times. It’s delicious and healthy. My friends like it for delicious, hearty and healthy. Thank you for your vegan recipes.
Awwww… Thank you so much, George! I am so happy to hear that you enjoyed my recipe. Your kind encouragement means a lot to me.
Dette skal jeg definitivt prøve.
Takk for alle gode oppskrifter og framgangsmåter du deler 🙂
Tusen takk for din veldig hyggelige kommentar. Jeg håper du liker denne oppskriften. Det er en av mine favoritter.
Dette var et nydelig brød. Tusen takk for denne oppskriften.
Tusen takk for din hyggelige kommentar!